
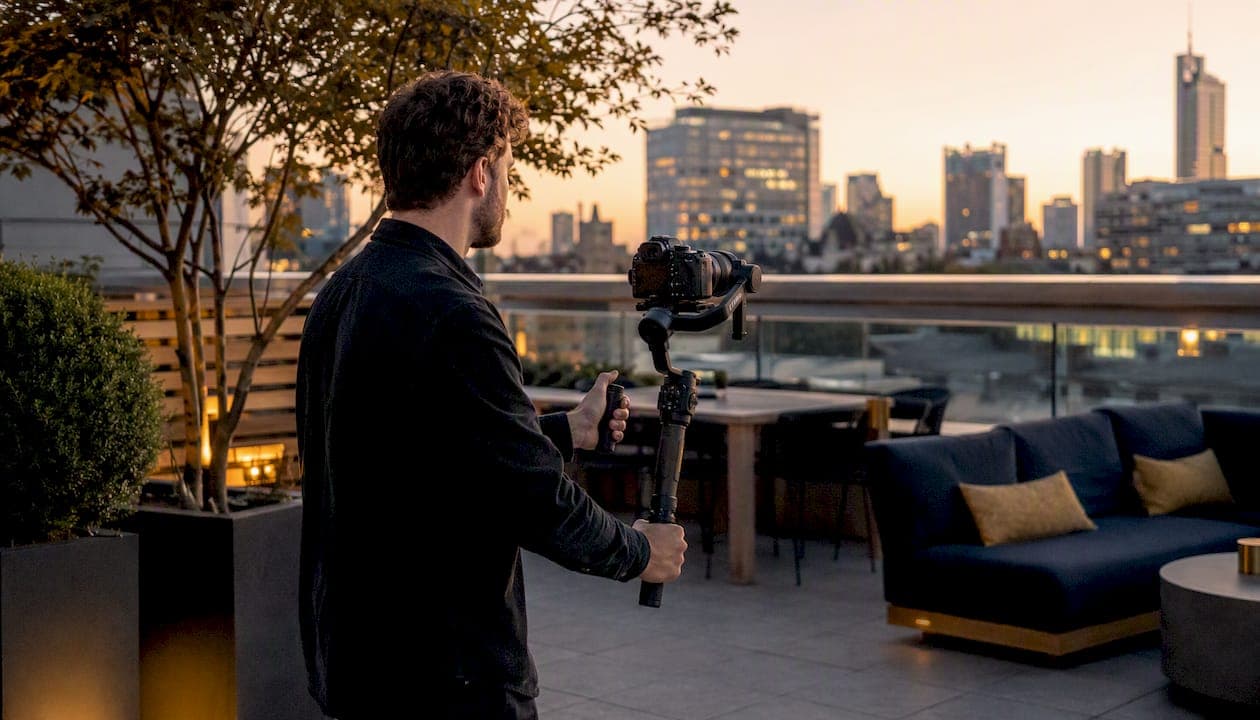
A cinematic real estate video is a professionally shot and edited property film that uses controlled camera movement, deliberate lighting, and a structured edit to create an emotional, story-driven viewing experience — one that keeps buyers watching longer and drives more enquiries than static photos alone. The goal is not simply to show a home; it is to make a buyer feel what it would be like to live there.
Before your next shoot, confirm you have these six essentials covered:
- Shot variety: exterior approach, interior walk-through, and detail close-ups
- Camera movement: at least two stabilised moves (push, reveal, or arc)
- Lighting: natural light controlled with curtains plus at least one fill source for dark corners
- Audio and music: licensed track timed to the edit, ambient room tone underneath
- Edit pacing: cuts timed to music beats, with a teaser under 60 seconds and a full tour under three minutes
- Deliverable formats: landscape master for MLS, vertical crop for Instagram Reels and TikTok
If you can check all six before the camera rolls, you are already ahead of most listings on the market. The sections below walk through each element in production order, from shot list to final export.
Key takeaways
A cinematic real estate video requires deliberate planning, controlled movement, and a structured edit to create the emotional response that converts viewers into buyers.
Table of Contents
- What does a cinematic real estate video shot list look like?
- What gear and camera settings produce a cinematic look?
- How does lighting affect the cinematic quality of a property video?
- Which camera movements create a cinematic feel in property videos?
- How do you use drone footage and FPV in a cinematic property video?
- What does an efficient editing workflow look like for property videos?
- What are the right formats and specs for each platform?
- What should you do before the shoot day to get the best results?
- What does a cinematic real estate video cost in Canada, and how long does it take?
- How Readysetsoldmedia executes a Lower Mainland cinematic listing shoot
- When is a cinematic property video worth commissioning?
- What actually makes a cinematic property video work?
- Readysetsoldmedia's cinematic video services for Lower Mainland realtors
- Sources
What does a cinematic real estate video shot list look like?
A well-structured shot list is the single most reliable way to avoid missing a key angle on shoot day. The list below covers the interior and exterior shots that appear in nearly every high-performing property film, along with suggested clip durations for a standard three-minute walkthrough edit.
Interior shots
- Exterior-to-entry reveal (8–12 seconds): camera starts outside the front door and pushes slowly toward the entrance, establishing scale
- Entry/foyer establisher (4–6 seconds): wide static or slow pan to orient the viewer
- Living room slow push (6–10 seconds): gimbal moves from the doorway toward the feature wall or fireplace
- Kitchen arc or reveal (6–8 seconds): camera arcs around the island or pulls back from a detail to reveal the full space
- Primary suite push (6–8 seconds): slow push from the doorway toward the bed, ending on a window view
- Bathroom detail close-ups (3–4 seconds each): tap, tile, mirror, shower glass
- Secondary bedrooms (4–5 seconds each): wide static or short push
Exterior shots
- Hero push from street (8–10 seconds): camera moves toward the façade at eye level
- Aerial reveal (6–10 seconds): drone rises from behind the roofline to reveal the neighbourhood context
- Outdoor living area (5–8 seconds): patio, deck, or pool with a slow arc
- Dusk or golden-hour façade (6–8 seconds): static wide, ideally with interior lights on
Sample storyboard: single-take FPV/gimbal route
This route works well for open-plan homes where the layout flows from the front door through the living area to a rear patio or yard.
- Panel 1: FPV enters through the front door at chest height, glides through the entry hall
- Panel 2: Camera sweeps left into the open-plan living and dining area, rising slightly to show ceiling height
- Panel 3: Continues through the kitchen, banking right toward the sliding doors
- Panel 4: Exits to the rear patio in one continuous move, revealing the outdoor space and garden
FPV fly-throughs produce this kind of immersive, interior-to-exterior flow in a single take — something a standard drone or gimbal alone cannot replicate. One small-market test reported significantly higher online engagement versus standard drone footage, and a luxury listing case cited a notably faster sale after adding FPV to the marketing package.
Sample storyboard: multi-cut edit with B-roll inserts
| Cut | Shot | Duration | Movement |
|---|---|---|---|
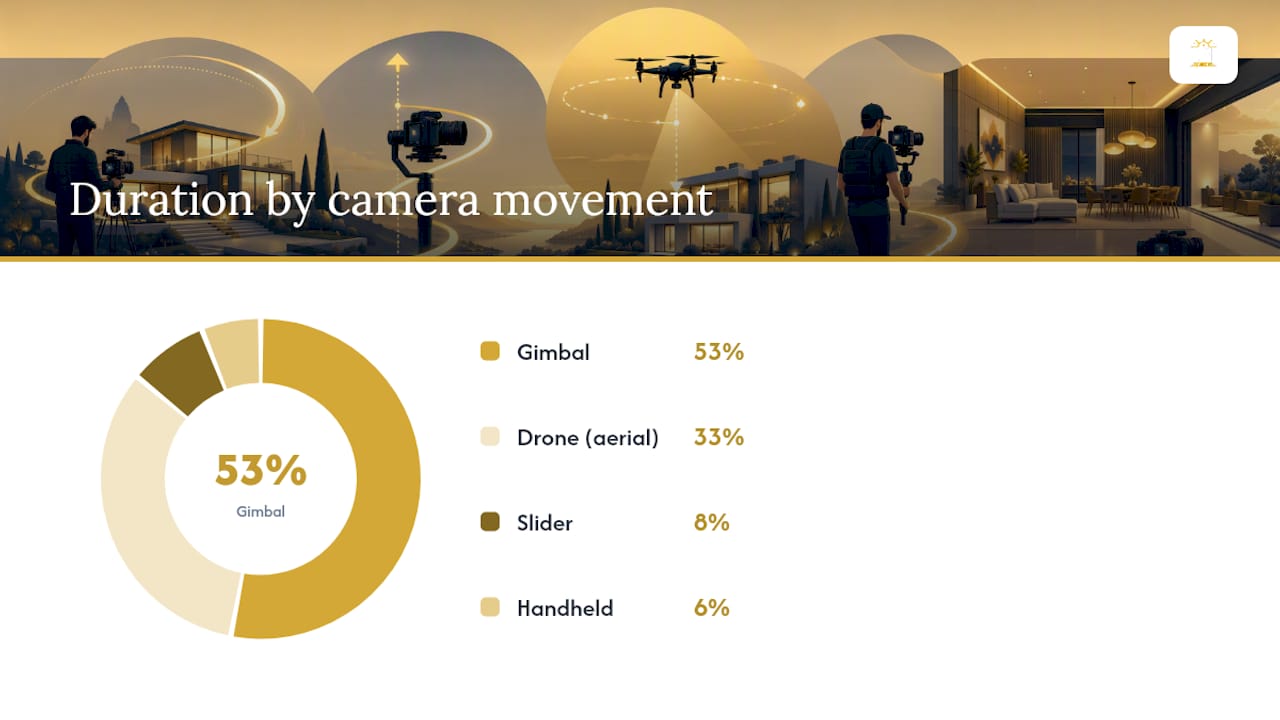
| 1 | Aerial reveal (drone) | 8 sec | Rising reveal over roofline |
| 2 | Front door push (gimbal) | 6 sec | Slow forward push |
| 3 | Living room wide (gimbal) | 7 sec | Slow push toward fireplace |
| 4 | Kitchen detail B-roll (slider) | 4 sec | Lateral slider left to right |
| 5 | Primary suite push (gimbal) | 6 sec | Push toward window |
| 6 | Bathroom tile close-up (handheld) | 3 sec | Static with slight drift |
| 7 | Rear patio arc (gimbal) | 7 sec | Arc around outdoor table |
| 8 | Aerial pull-back (drone) | 8 sec | Rising and pulling back |
Pro Tip: Shoot all exterior and aerial clips first, while the light is at its best. Move indoors as the sun climbs and the harsh shadows soften. This sequence also lets you dial in your indoor ISO settings without rushing.
What gear and camera settings produce a cinematic look?
You do not need a Hollywood rig to produce a cinematic listing video. A full-frame mirrorless body, two lenses, a gimbal, and a set of ND filters will cover the vast majority of residential shoots.
Core kit
Camera settings for a cinematic look
Shoot at 24fps with a shutter speed near 1/50 — this is the 180-degree shutter rule, and it produces the natural motion blur that makes footage feel filmic rather than video-like. For interiors, keep ISO in the 800–1600 range and use ND filters to hold that shutter speed in bright rooms rather than letting auto-ISO creep up and create distracting exposure shifts mid-move. Use a focal length of 23–40mm for most interior shots; anything wider starts to distort walls and make rooms look unrealistically large.
When you need slow-motion clips — a water feature, a curtain catching a breeze, or a speed-ramp transition — switch to 60fps or 120fps and plan for the extra light those frame rates require. At 120fps you need roughly two-and-a-half times more light than at 24fps to hold the same exposure.
Pro Tip: Shoot in your camera's native log profile (S-Log3, C-Log3, or N-Log) rather than Rec.709. Log footage looks flat on set but gives you far more latitude in the grade — especially for recovering blown windows and dark wood tones in the same frame.
How does lighting affect the cinematic quality of a property video?
Lighting is where most listing videos fall apart. A technically perfect camera move loses its impact the moment a room looks flat, orange, or unevenly lit.
Exterior and time-of-day choices
Golden hour (the 30–45 minutes after sunrise or before sunset) gives exteriors warm, directional light that adds depth to façades and makes landscaping glow. Overcast days are actually preferable for many interior-heavy shoots because the diffused light through windows is even and easy to balance. Avoid midday sun for exteriors: harsh shadows and blown-out skies are difficult to recover in post.
For dusk shots, turn on every interior light before the camera rolls. The warm glow through windows against a blue-sky background creates the most emotionally compelling exterior frame in residential real estate.
Interior lighting strategies
- Control natural light first: close or diffuse curtains on windows that are blowing out, and open curtains on windows that add depth
- Add a fill source: a 60W LED panel placed just outside the camera's frame lifts shadow areas without creating a visible artificial look
- Match colour temperature: set all practical lamps to 3,200K bulbs and set your camera white balance to match; mixed temperatures (daylight windows plus warm tungsten lamps) create colour casts that are time-consuming to fix in the grade
- Avoid reflections: position LED panels at 45-degree angles to glass surfaces, mirrors, and polished countertops
- Use a diffusion panel: a simple 5-in-1 reflector held just off-frame can bounce window light into a dark corner without any electrical setup
Pro Tip: For a main living area, a three-point setup works well: key light from a window or LED panel, fill from a reflector on the opposite side, and a practical lamp in the background for depth. This takes about eight minutes to set up and makes a significant difference to the grade.
Which camera movements create a cinematic feel in property videos?
Movement is what separates a cinematic property tour from a walk-and-talk iPhone video. The goal is controlled, purposeful motion that guides the viewer's eye and reveals the space progressively.
Movement recipes
- Slow push: start with the camera stationary, then move forward at roughly 0.3–0.5 metres per second toward a focal point (fireplace, island, window). Keep the horizon level. This is the workhorse move for living rooms and primary suites.
- Reveal pull-back: begin tight on a detail (a door handle, a tile pattern), then pull back slowly to reveal the full room. Effective for kitchens and bathrooms where the detail quality is a selling point.
- Whip pan: a fast lateral rotation used as a transition device between rooms. Execute it at the end of one clip and the start of the next; in the edit, the two blurred frames cut together invisibly.
- Arc: the camera orbits a central subject (a dining table, an island, a bathtub) at a constant radius. Keep the arc under 90 degrees for most interior spaces to avoid disorienting the viewer.
- Vertical reveal: start low (near floor level) and tilt up slowly to reveal ceiling height or a feature wall. Works particularly well in entry halls and double-height living rooms.
- Lateral slider move: mount the camera on a slider and move it parallel to a counter, bookshelf, or window. Adds production value to B-roll detail shots without requiring a gimbal.
Transitions that hide cuts
Speed ramps (a brief slow-motion dip at the cut point), match cuts (cutting on a similar shape or colour between two rooms), and whip pans all disguise the edit and keep the viewer in a continuous emotional flow. Motion-blend edits in DaVinci Resolve or Adobe Premiere Pro can smooth a cut between two clips that were shot at slightly different speeds.
Mixing gimbal pushes with slider moves and selective handheld shots produces a more natural, varied result than relying on a single movement style throughout. Match the movement to the room: a slow push suits a grand living room; a handheld drift suits an intimate reading nook.
Faster follow speeds create a mechanical, robotic look. Slower speeds feel more like a human eye moving through the space, which is exactly the emotional register you want.*
How do you use drone footage and FPV in a cinematic property video?
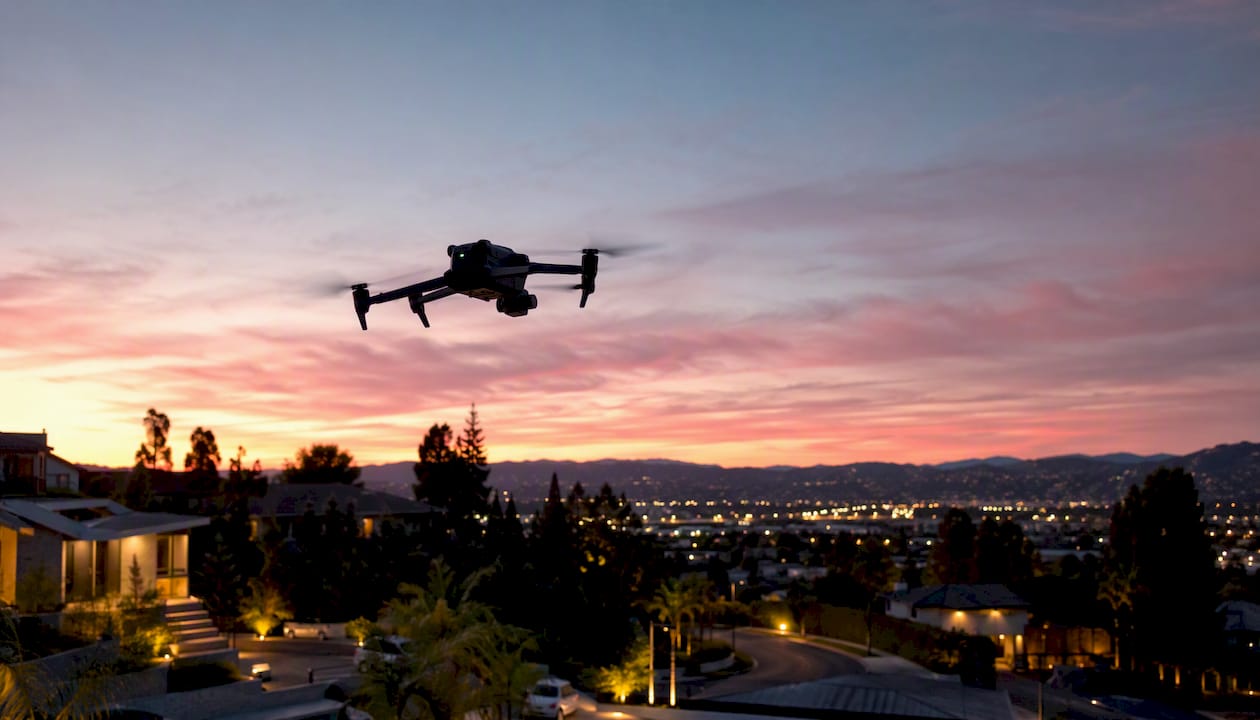
Aerial footage contextualises a property within its neighbourhood, shows lot size, and adds a production value that buyers associate with premium listings. FPV fly-throughs go further, creating a continuous interior-to-exterior narrative that no other tool can match.
Standard aerials versus FPV
Standard drone aerials (DJI Mavic or Inspire class) are the right choice for establishing shots, neighbourhood context, lot reveals, and any shot that requires precise hovering or slow, controlled movement. They are straightforward to plan and execute, and the footage integrates cleanly with gimbal interior work.
FPV fly-throughs are best reserved for open-plan multi-level homes where the layout tells a story in motion. They are most effective for luxury property video where the production investment is justified by the listing price and marketing budget.
FPV planning basics
- Map the route on paper before the shoot: entry point, path through each room, exit point
- Walk the route twice without the drone to identify obstacles (low ceilings, pendant lights, door frames)
- Stage furniture and props to create clear flight corridors at least 1.2 metres wide
- Conduct at least two rehearsal passes at reduced throttle before recording
- Coordinate the interior-to-exterior transition: the door or window must be fully open and a spotter must be positioned outside
Safety and Canadian regulatory requirements
Commercial drone operations in Canada require a Transport Canada Advanced Operations pilot certificate for flights near people, structures, or controlled airspace. For most residential shoots in Metro Vancouver, you will be operating in or near controlled airspace, which requires prior authorisation through NAV CANADA's drone flight planning tools.
- Carry proof of pilot certification and liability insurance on every shoot
- Conduct a site scan for overhead power lines, trees, and restricted airspace before launch
- Use a spotter for all FPV and low-altitude exterior flights
- Never fly indoors without explicit client permission and a cleared, rehearsed route
Pro Tip: Book your drone window for the first 90 minutes after sunrise. Wind speeds are typically lowest, light is most flattering, and you are less likely to encounter air traffic near residential airspace. Check NAV CANADA's Drone Site Selection Tool the evening before to confirm no NOTAMs affect your location.
What does an efficient editing workflow look like for property videos?
A clean edit pipeline prevents the most common time-wasters: re-grading footage you already colour-corrected, or discovering a missing shot after you have already exported.
Suggested edit order
- Selects pass: review all clips and mark the best take for each shot; discard duplicates immediately
- Assembly cut: drop selects onto the timeline in shot-list order; do not adjust timing yet
- Pacing pass: trim each clip to its most dynamic moment; time cuts to the music track's beat markers; aim for a 45–60 second teaser and a 2–3 minute full walkthrough
- Colour grade: correct exposure and white balance first, then apply your creative grade (see below)
- Sound design: add licensed music, mix in ambient room tone at low volume underneath, and add any voiceover or typography
- Final polish and export: review at full resolution before exporting masters
Basic colour grading workflow
Start by converting your log footage to REC.709 using your camera manufacturer's official LUT (Sony's S-Log3 to S-Cinetone LUT, for example). From there, use lift/gamma/gain wheels to set black levels, midtone brightness, and highlight rolloff. Protect skin tones and wood tones with a secondary qualifier before adding any creative saturation or hue shifts — these surfaces are the first to look unnatural when a grade goes too far.
It unifies footage shot on different cameras or at different ISOs and gives the final grade a tactile, premium quality that buyers associate with high-end property films.*
Export presets
What are the right formats and specs for each platform?
Delivering the wrong aspect ratio or codec to a platform is one of the most avoidable production mistakes. The table in the previous section covers the core specs; the points below address the platform-specific decisions that affect how your video actually performs.
- MLS and REALTOR.ca: most Canadian MLS boards accept MP4 files up to 500MB at 1080p. Check your board's current upload limits before delivering a 4K master — many boards still transcode to 1080p on their end, making a 4K upload unnecessary and slow
- Website listing pages: embed via Vimeo or YouTube rather than self-hosting; both platforms handle adaptive bitrate streaming, which means the video loads quickly on mobile without sacrificing quality on desktop
- Instagram Reels: shoot or crop to 9:16 from the start of the project, not as an afterthought; a 16:9 crop to 9:16 loses the top and bottom of every frame and often cuts off ceilings and floors that are part of the story
- TikTok: keep the full walkthrough under 60 seconds for maximum reach; use the teaser cut rather than the full tour
- YouTube: the full 2–3 minute walkthrough performs well here; add chapter markers in the description to let buyers jump to specific rooms
For Instagram Reels strategy tailored to real estate, including how to repurpose cinematic assets into short-form social content, the Readysetsoldmedia blog covers the platform-specific approach in detail.
Delivering multiple aspect ratio masters from a single edit adds minimal time to the post-production workflow — typically 30–60 minutes for cropping and re-exporting — but it significantly increases the usable life of the footage across marketing channels.
What should you do before the shoot day to get the best results?
Pre-shoot preparation is where most of the quality in a cinematic property video is actually won or lost. A well-staged, well-coordinated shoot runs in four to five hours; a poorly prepared one can take twice as long and still produce inferior footage.
Logistics checklist
- Confirm access: keys, lockbox code, alarm codes, and parking for crew vehicles
- Check permit requirements: some Metro Vancouver municipalities and strata buildings require written permission for commercial filming on common property or public streets
- Notify neighbours if drone operations are planned near property lines
- Confirm the property is vacant or that occupants will be absent for the full shoot window
Staging checklist
- Remove personal photos, children's artwork, and identifiable documents from all surfaces
- Clear kitchen counters to one or two styled items (a fruit bowl, a coffee machine)
- Make all beds with fresh, wrinkle-free linens; add decorative cushions
- Open all interior doors to create flow and depth in wide shots
- Set all window coverings to the same height for visual consistency
- Replace any burned-out bulbs and set all dimmable lights to 70–80% brightness
- Remove vehicles from the driveway and the immediate street in front of the property
Shot order to minimise re-lighting
A logical shot order reduces the number of times you move lights and adjust ISO settings:
- Exterior and aerial shots (the best light, no interior setup required)
- Entry and foyer
- Main living and dining area
- Kitchen
- Primary suite and ensuite
- Secondary bedrooms and bathrooms
- Outdoor living area (patio, deck, pool)
Pro Tip: Send your realtor-client a one-page prep sheet 48 hours before the shoot. Include the staging checklist above, a request to run the dishwasher and hide the drying rack, and a reminder to have the property at the correct temperature. A prepared home saves 30–45 minutes on shoot day and shows up clearly in the final footage.
What does a cinematic real estate video cost in Canada, and how long does it take?
Pricing for professional real estate video production in Canada varies based on several factors. Understanding those factors helps you compare quotes accurately and ask the right questions before you book.
Primary pricing factors
- Crew size: a two-operator crew (one interior gimbal, one exterior/drone) produces better footage faster than a solo operator but costs more
- Gear: drone inclusion, FPV rig, slider, and professional lighting all affect day-rate costs
- Property size and complexity: a 500-square-foot condo requires a different scope than a 5,000-square-foot luxury home with multiple outdoor areas
- Edit complexity: a simple cut-to-music walkthrough takes less post-production time than a multi-format delivery with voiceover, typography, and social masters
- Music licensing: properly licensed tracks from libraries like Musicbed or Artlist add a predictable per-project cost; unlicensed music creates copyright liability on YouTube and social platforms
- Travel: shoots outside the core service area typically carry a travel fee
Typical turnaround timelines
| Deliverable | Typical turnaround |
|---|---|
| 30–60 second social teaser | Same day or next morning |
| Full 2–3 minute walkthrough | 48–72 hours after shoot |
| Multi-format package (MLS + social masters) | 72 hours after shoot |
| Complex edit with voiceover and typography | 5–7 business days |
For pricing and package details specific to the Lower Mainland, Readysetsoldmedia publishes current rates and bundle options on its pricing page.
Questions to ask before you book
- How many revision rounds are included?
- Do you deliver separate masters for MLS, web, and social, or just one file?
- Is the music licence included, and does it cover YouTube and social platforms?
- Who owns the raw footage, and can I request additional edits later?
How Readysetsoldmedia executes a Lower Mainland cinematic listing shoot
The workflow below reflects how a two-operator cinematic shoot runs in practice across Metro Vancouver and the surrounding Lower Mainland communities.
Methodology
Readysetsoldmedia's approach to cinematic listing videos begins with a pre-shoot scouting call or walkthrough to confirm the shot list, identify any lighting challenges, and plan the drone window. Operator A handles' interior gimbal work, moving through the property in shot-list order while managing portable LED fill lighting. Operator B sets up and executes exterior and aerial shots, then transitions to stabilised detail and B-roll work indoors once the aerial window closes.
This two-operator structure reduces re-shoots and compresses the on-site time to four to five hours for most residential properties, which means the property is back on the market the same afternoon.
Sample timeline from booking to delivery
- Booking to shoot day: 24–72 hours for standard bookings; same-day availability in some cases
- Shoot day: 3–5 hours on site depending on property size
- Edit and grade: 48–72 hours for a standard multi-format package
- Delivery: MLS-ready MP4, web master, and social crops delivered via download link
Readysetsoldmedia has captured over $300 million in property value through its media services across the Lower Mainland, which gives the team a practical understanding of what buyers respond to at different price points and property types.
For aerial and FPV work, drone services are integrated directly into the listing package rather than subcontracted, which keeps the visual style consistent from the first aerial frame to the final interior close-up.
Pro Tip: Book your drone window for the first 90 minutes of the shoot, before interior lighting is fully set up. This lets the aerial operator work in the best light while the interior operator stages and tests lighting. By the time the drone lands, the interior is ready to shoot.
When is a cinematic property video worth commissioning?
Cinematic video is worth the investment when the property has a story that photos cannot tell: a dramatic view, an open-plan layout, a luxury finish level, or an outdoor living area that needs to be experienced in motion. As a general rule, any listing priced above the local median benefits from the production value that motion brings.
Printable shoot and deliverables checklist
Pre-shoot:
- Staging complete (declutter, linens, counters cleared)
- All bulbs replaced and dimmers set
- Vehicles removed from driveway
- Drone permits and airspace authorisation confirmed
- Shot list shared with crew
On shoot day:
- Exterior and aerial shots first
- Interior shots in room order (entry → living → kitchen → bedrooms → bathrooms → outdoor)
- Detail B-roll captured for each key room
- Ambient room tone recorded for the edit
Deliverables:
- MLS master (1080p, —, 16:9)
- Web master (4K, —, 16:9)
- Social teaser (60 seconds, 9:16, —)
- Instagram Reels crop (9:16)
- TikTok cut (under 60 seconds)
One next step: share this checklist with your realtor-client 48 hours before the shoot, then book the crew.
What actually makes a cinematic property video work?
Most articles on this topic focus on gear lists and camera settings. Those things matter, but they are not what separates a forgettable listing video from one that generates calls. The real differentiator is storytelling structure: the decision about which shot comes first, which room gets the most screen time, and where the music peaks.
Buyers make emotional decisions and justify them rationally afterward. A cinematic property video works when it triggers that emotional response in the first ten seconds — usually through a strong aerial reveal or a slow push into a beautifully lit living room. Everything after that is confirmation. If the opening shot does not create a feeling of "I want to be in that space," the rest of the video is just inventory.
There is also a practical tension that every videographer working in Canadian real estate needs to manage: the gap between cinematic style and MLS accuracy. A wide-angle lens that makes a room look twice its actual size, or a grade that turns a grey Vancouver sky into a golden California afternoon, may produce a beautiful video but it creates a credibility problem when buyers arrive at the property. The most effective cinematic work is honest about the space while presenting it at its absolute best. That means choosing the right focal length, shooting at the right time of day, and grading to enhance rather than fabricate.
The video marketing evidence consistently points to the same conclusion: motion content outperforms static photos for engagement and enquiry rates, but only when the production quality is high enough to hold attention. A poorly executed video can actually hurt a listing by signalling that the agent does not take marketing seriously.
Readysetsoldmedia's cinematic video services for Lower Mainland realtors
Readysetsoldmedia delivers cinematic listing videos built specifically for Metro Vancouver's competitive market, where buyers scroll past dozens of listings before booking a showing. The concrete advantage is a two-operator production model that captures interior gimbal work and aerial footage in a single shoot day, with MLS-ready, web, and social masters delivered within 48–72 hours.
Every package includes a licensed music track, colour-graded footage, and separate deliverable masters for MLS, website embedding, and social platforms — no extra fees for format splits. Aerial and drone media are integrated into the package rather than subcontracted, keeping the visual style consistent from the first exterior frame to the final interior close-up. Readysetsoldmedia serves realtors across the Lower Mainland, from Vancouver and Richmond to Surrey, Langley, and Abbotsford. To check availability and get a quote for your next listing, visit the videography service page or contact the team directly.
Sources
The sources below were referenced throughout this guide. Technical sources cover camera settings, movement techniques, and FPV planning; the Readysetsoldmedia pages provide service details and market-specific context for Lower Mainland shoots.
- Real Estate Video - Equipment, Settings and Shot Ideas